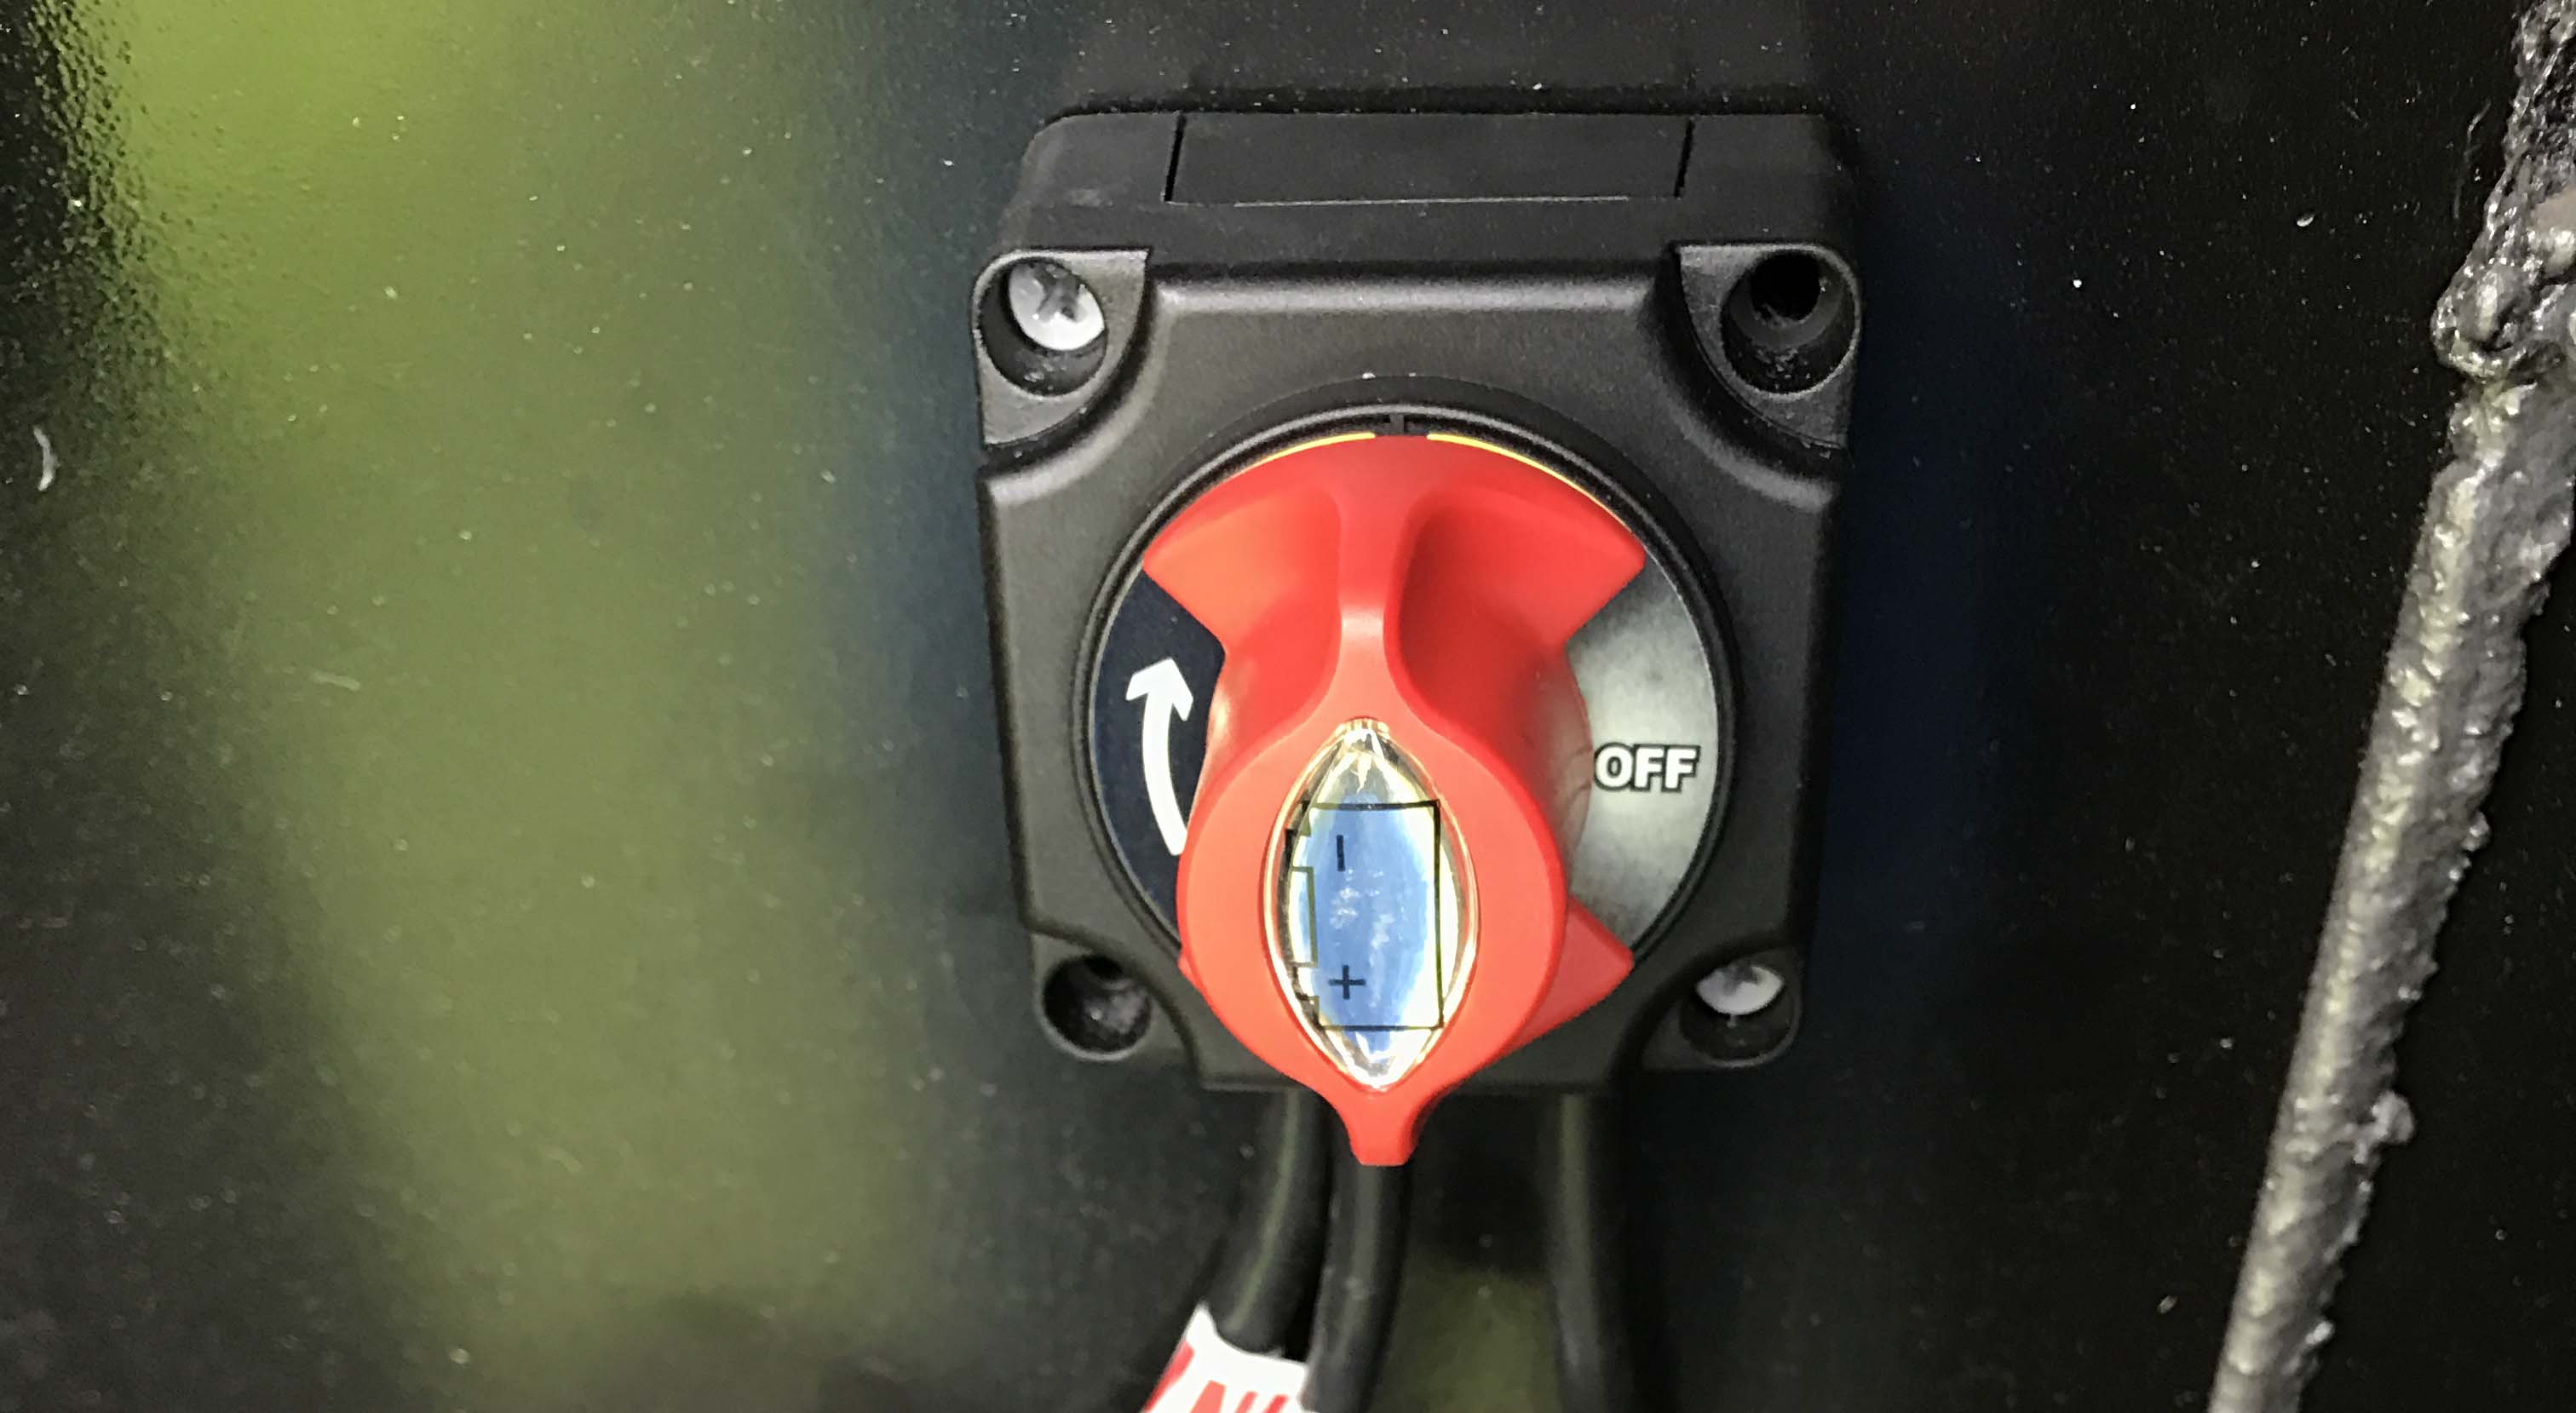
Our current 5er came with a factory installed battery disconnect switch. The problem with that switch is that the only thing it disconnects is the inverter to the residential fridge. All of the smoke, propane and CO2 detectors continue to drain the battery as well as the entertainment sound system. This is great if you don’t want the inverter drawing power and you don’t need the fridge but I think turning the inverter off in the control panel would accomplish the same thing as the disconnect in the basement does. That is just this guy’s opinion as an end user though, so take that for what it is worth.
For a storage situation this set up is WAY less than ideal. You can not store your rig for more than a couple days and come back to it with batteries that have any charge on them. This makes it impossible to store at an RV storage facility that does not have power. It also makes it difficult to take your RV in for service and come back to a charged battery. Any time I took our RV in for service I got it back with dead batteries. This deep discharge is also detrimental to the life of the battery and we had to replace ours after only 8 months of service due to being in the shop for warranty work several times.
Main RV Battery Disconnect Switch
So to install the main RV battery disconnect switch you will need:
- A battery disconnect switch, of course! http://amzn.to/2FtJ9yB
- A length of 4 gage negative battery cable. http://amzn.to/2DVEoRj
- Screws if your switch did not come with mounting screws.
- A drill.
- A pilot hole bit.
- A ratchet and appropriate sized sockets.
- About 15 minutes of your time. Maybe less or more if you are or are not making an accompanying YouTube video. 🙂
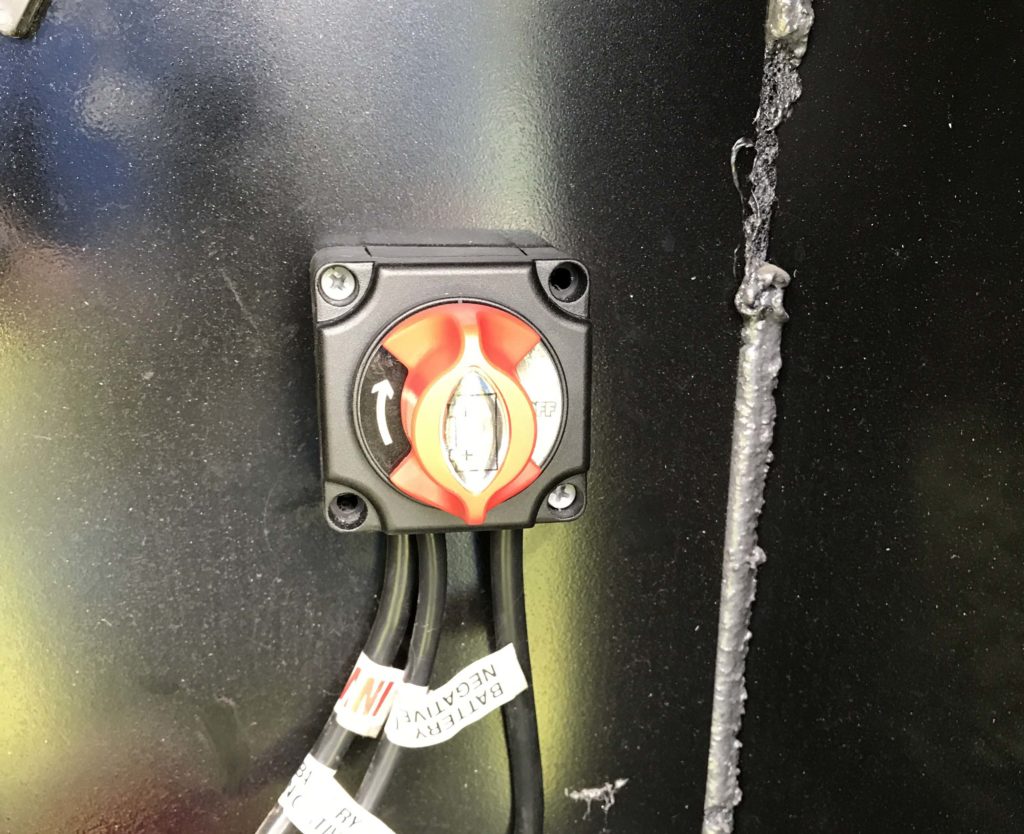 Start by selecting your mounting location. To make it easier, drill your pilot holes for your mounting screws before attaching the battery cables. Once you drill the pilot holes, you can attach your cables to the switch. I made both connections to the switch and left the battery end disconnected. After these connections are made mount your switch and place it in the off position. With the switch mounted and off you can make the final connection to your battery.
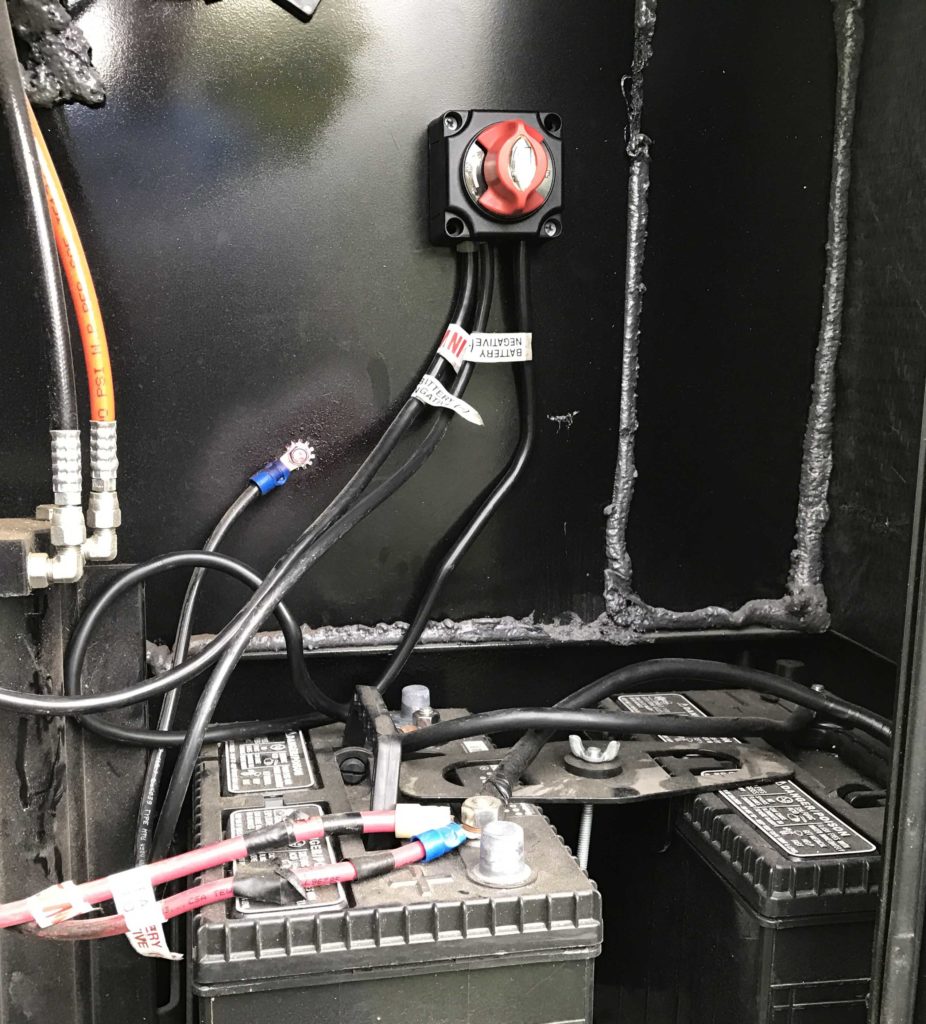
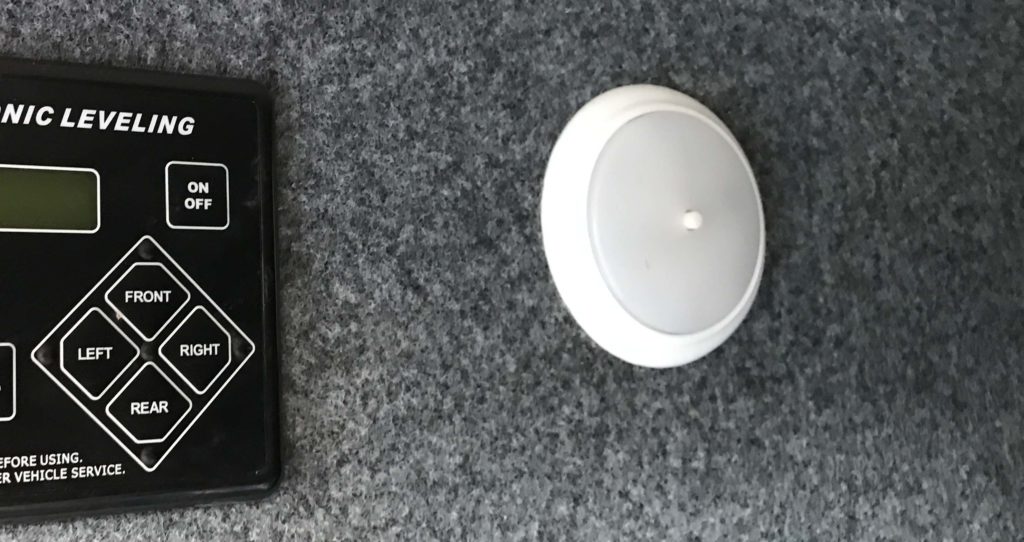
With the last connection made, the shore line disconnected and the switch in the off position, check a light or other device that normally works on battery. If it does not work you are in good shape to this point. If it does turn on however, recheck your connections to make sure they have not shorted out, that the switch is in fact in the off position and that all of your wires are attached to the correct blocks on the switch. Once the switch is in the off position and you have no power to anything you can continue your tests. Now place the switch in the on position and you should have power to your lights, auto leveling system and anything else that is supposed to operate on batteries.
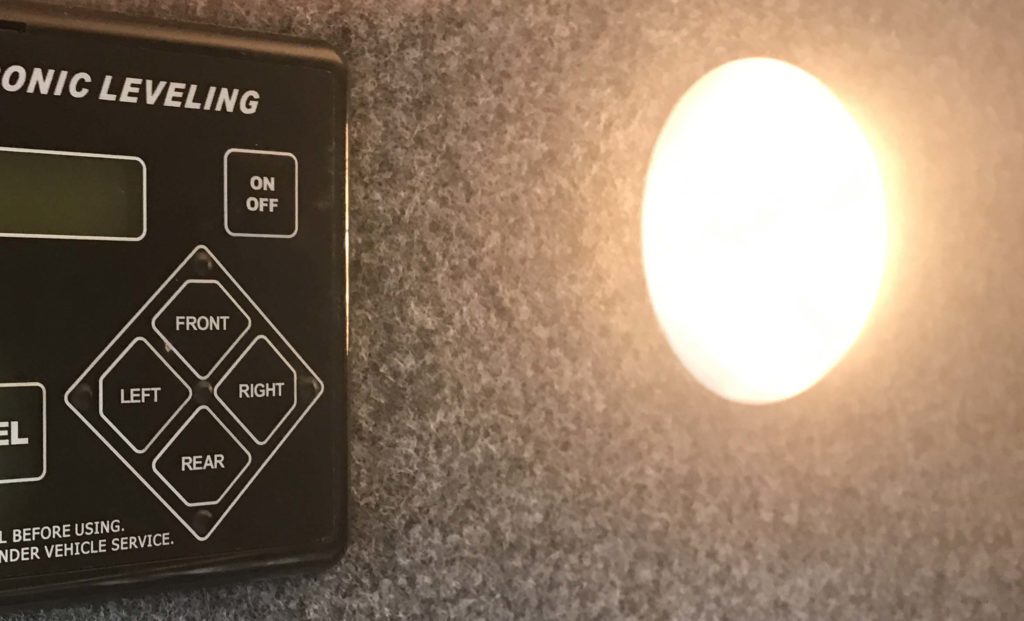
Congratulations!!!
You can now correctly disconnect your batteries for storage without a shore line or taking it in for service. You need to show your service manager the location of the disconnect and be very clear that they need to turn it on and off as needed for any service you are having so you don’t wind up with damaged or dead batteries when you get your rig back!
Thanks as always for checking in with us. Subscribe to our email list or any of our social media. Happy Camping!
My Gear:
Canon 70D: http://amzn.to/2DF5mwC
MacBook Pro: http://amzn.to/2DF0UOj
Final Cut Pro X: http://amzn.to/2Dv1L0T
Smith Victor Tripods: http://amzn.to/2E2wZ0p
Vanguard Alta Pro Tripod Kit: http://amzn.to/2DuUAWk
Joby Gorillapod: http://amzn.to/2Dtue74
DJI Phantom 3: http://amzn.to/2DqvpUL
Sevenoak Electronic Ball Head: http://amzn.to/2E2sAKQ
GoPro Hero 3 Silver: http://amzn.to/2DxEsY9
iPhone 7 Plus: http://amzn.to/2DxjaWF
*Amazon links are “Affiliate Links” we get a small commission at no cost to you to help us keep this site going. Shop all of Amazon here: http://amzn.to/2DVCOPn

