
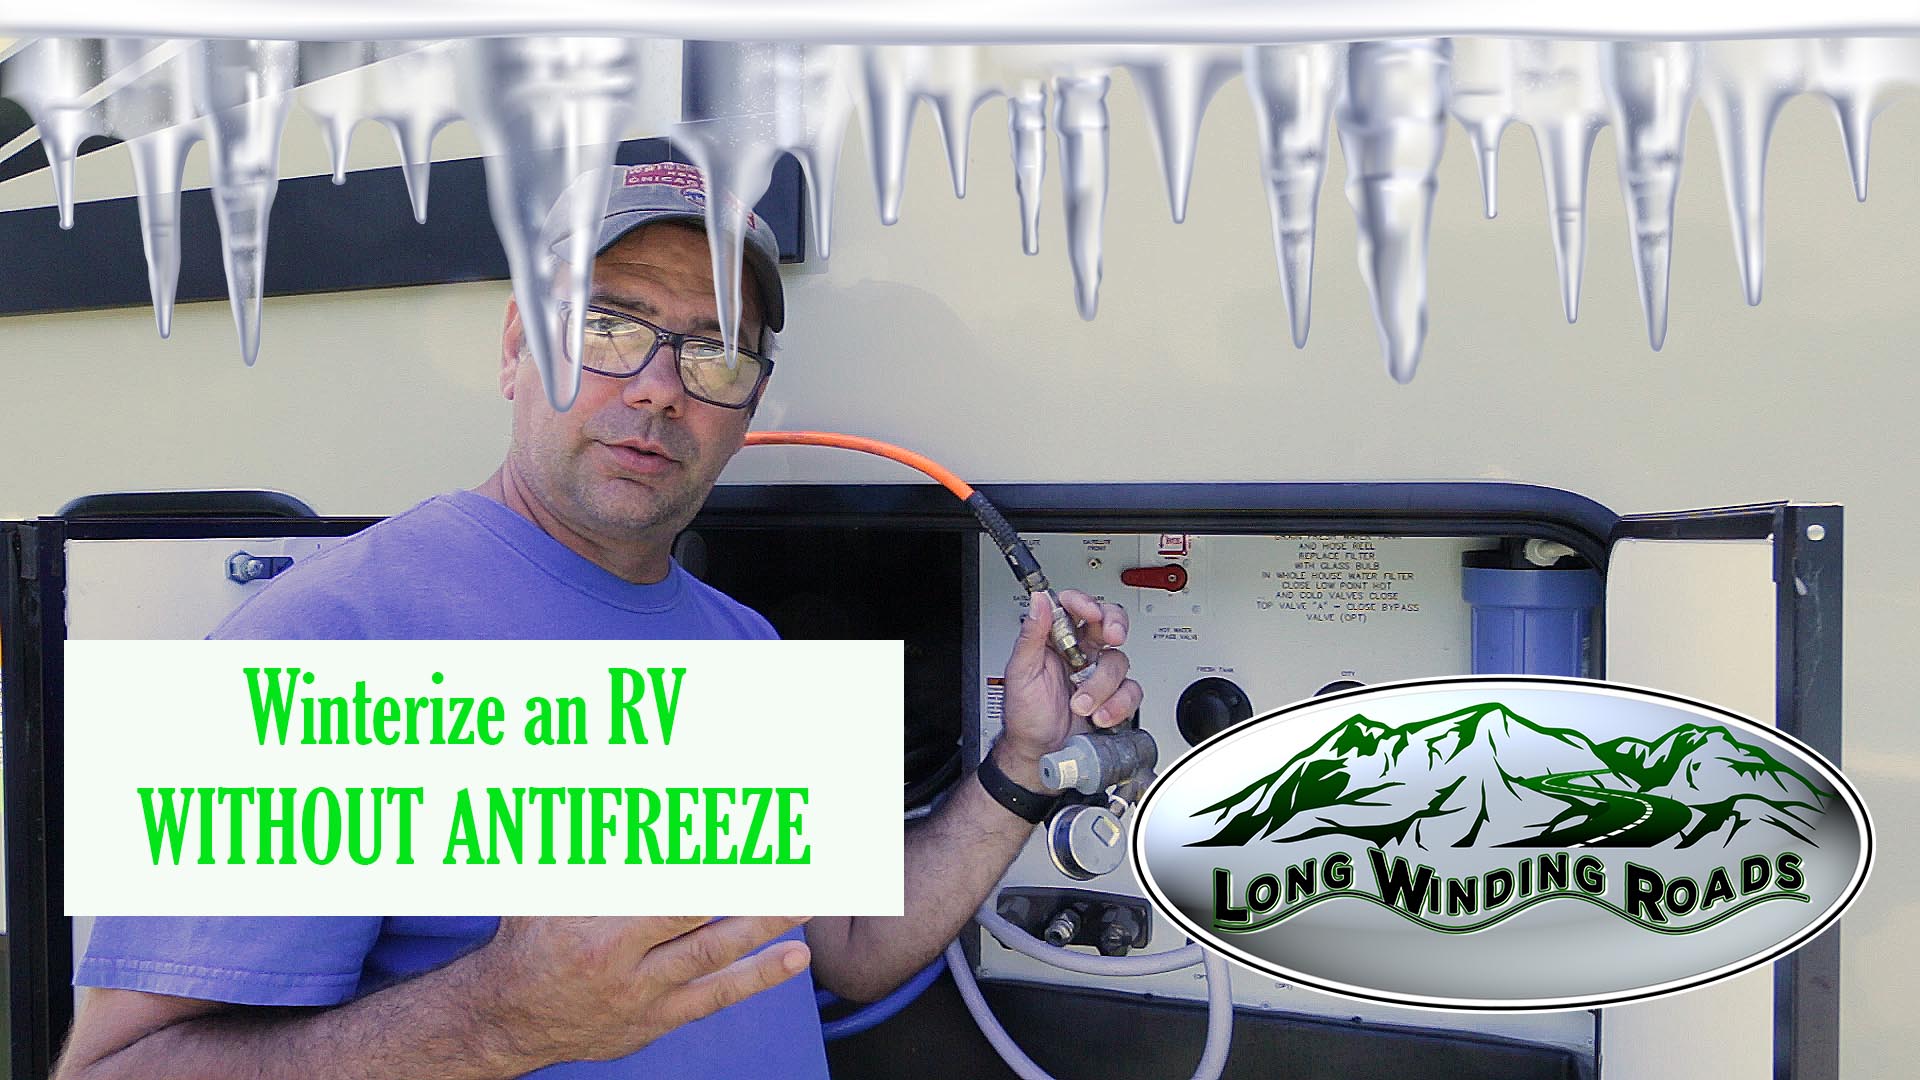
Winterize your rv without all the nasty antifreeze. Doing it yourself is easy, less expensive and easy! Did I mention easy? Best of all if you do it like me it is a one person job. I do it without antifreeze and have never had a problem, provided of course I did it, I forgot once but we won’t go into that. 🙁 And yes it works even with hard freezes. We have been in the teens for highs for days without a problem, so it will work even if you are up north.
So you may ask, why don’t you use the antifreeze Bob? Well firstly, I’m cheap and antifreeze is expensive. Secondly, I’m lazy. Antifreeze requires de-winterization and my way does not. You just hook up your hose and you are camp ready again. In Texas we can camp year round without a problem and if we decide to go removing the antifreeze from the RV lines is one less thing I have to do. Not to mention that I’d have to buy more and do it again once we got home from our midwinter camping trip.
RV Winterization Supplies
Here is what you will need:
- An air compressor. https://amzn.to/2qXwFdc
- An air hose to water hose coupler. https://amzn.to/2KeaHvk
- A water pressure regulator (optional). https://amzn.to/2HqNmEJ
- Air!
- Yourself! A buddy helps but is not necessary.
- About 15 to 30 minutes.
RV Winterization Procedure
The first thing I do is to make sure that either the compressor regulator is set to about 60PSI or to make sure that my water pressure regulator is in line. If neither of those is there or set correctly you run the risk of rupturing a water pipe or blowing a fitting. Once I’ve made double sure that the air pressure is taken care of I hook up the rest of my air hose to garden hose assembly. Once that is in place I’ll turn on the air if it wasn’t already on.
You should be able to hear the lines pressurize. Start draining the lines outside with the underbelly drains. I have 5 not including the fresh tank drain, which I open at this point as well, so look around and make sure you have found all of them. On my RV I have 1 that us under the slide where my residential fridge sits. Once the majority of the water is out I shut it off and move to the next one and when all of the underbellies are done I open the pressure relief valve on the water heater. From here I move to the outdoor kitchen and open the sink faucet. When all the outside is done I then move inside and do each faucet and toilet individually.
Whew. After that I disconnect the air supply. After the air compressor has been removed I open all of the faucets and “flush” the toilets once again to relieve any air pressure. I leave all of the faucets open and go back to the underbelly drains once more. I open those and let them drain any residual water that may still be in the system. When they are done draining I close them so no bugs find their way in.
That’s it, you’re done. If you didn’t crack a beer when you started you earned one! Enjoy!
My Gear:
Canon 70D: http://amzn.to/2DF5mwC
MacBook Pro: http://amzn.to/2DF0UOj
Final Cut Pro X: http://amzn.to/2Dv1L0T
Smith Victor Tripods: http://amzn.to/2E2wZ0p
Vanguard Alta Pro Tripod Kit: http://amzn.to/2DuUAWk
Joby Gorillapod: http://amzn.to/2Dtue74
DJI Phantom 3: http://amzn.to/2DqvpUL
Sevenoak Electronic Ball Head: http://amzn.to/2E2sAKQ
GoPro Hero 3 Silver: http://amzn.to/2DxEsY9
iPhone 7 Plus: http://amzn.to/2DxjaWF